HOW TO VIEW OUR H.265 NVR LIVE DEMO!
1. Launch Internet Explorer.
2. Click on the button above to be taken to the demo login page.
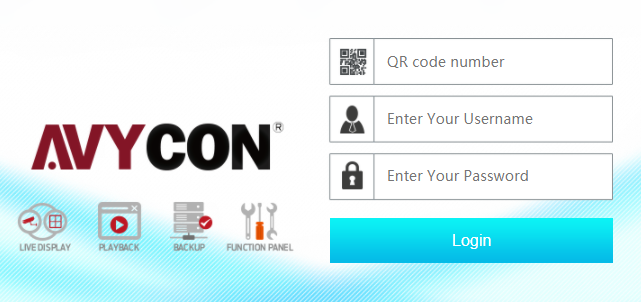
3. You should see a login screen with fields for entering a QR Code Number, Username, and Password.
4. In the three text fields, enter the following information. Alternatively, if you are using the mobile application, you can scan the QR code instead.
- QR Code Number: KB72F158QB4C
- Username: demo
- Password: 1234
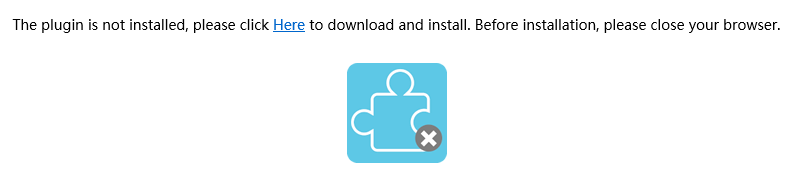
5. At the top of the page, you will see the following image. Click on the underlined link to start a download of the required plugin. Choose “Run” or “Save” to start the installation of the browser plugin. Depending on the firmware of your DVR / NVR, you may need to install multiple plugins.
6. After all plugins have been successfully installed, close and restart your browser for best results. Once you reopen the page, you should see this menu again.
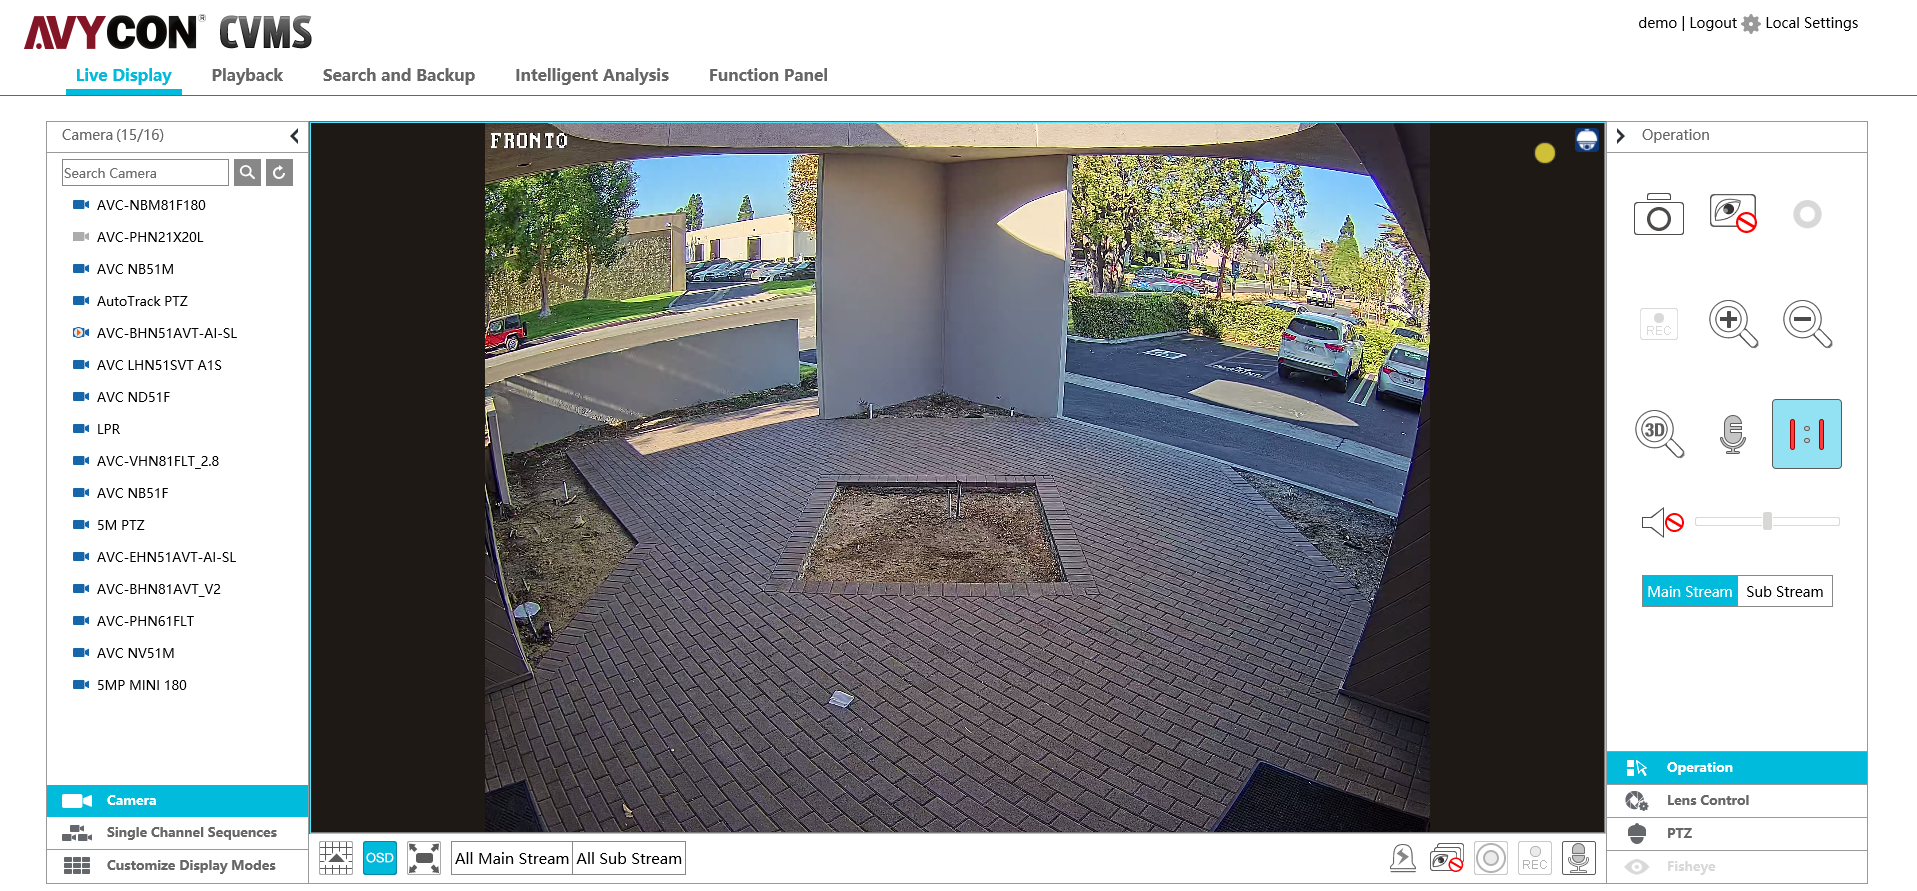
7. Reenter the login credentials. Once you have successfully logged in, you will see a screen similar to the one below.
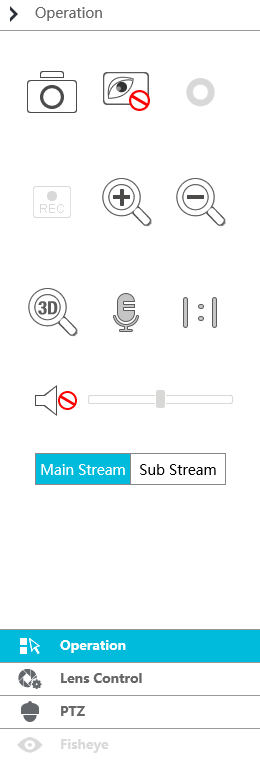
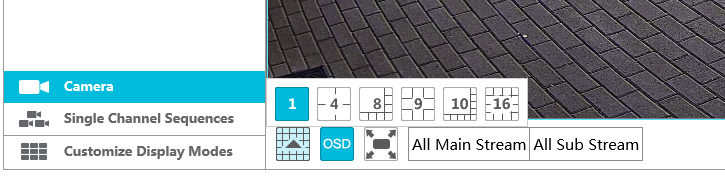
8. The panel to the right contains controls for various functions, as shown in the image below. By default, our interface loads the camera feed with the Sub Stream, which is a lower resolution stream designed for an optimized remote viewing experience when users may not have access to high speed internet. By clicking on the Main Stream button, the feed will switch to the highest resolution of the selected camera. In addition, there are digital zoom controls indicated by the magnifying glass icons. If your view is currently zoomed in, you can click and drag the video around to see different sections of the feed.
9. With our DVRs and NVRs, you can choose to view one or multiple cameras at the same time. By clicking on the grid / layout button near the bottom of the live view screen, you can change the layout of the cameras.
10. Feel free to get familiar with the interface by experimenting with the controls. For extra guidance on navigating the web page, please view our YouTube channel.
If you having any difficulty accessing our demo page, please feel free to contact our Technical Support Department at +1-949-752-7606 or Email at support@avycon.com
How to Install AVY Mobile CVMS on iOS
1. Find and launch the App Store application.
2. Search for “AVYCON” and find the application named “AVY Mobile CVMS.”
3. Tap on the cloud icon to begin downloading and installing the application. Once the installation is complete, tap on Open to launch the app.
4. You should see this launch screen while the app is loading. The application will ask you to grant several permissions. To ensure all features work properly, please agree to all of them.
5. Since this is the first time the application has been launched, you will be shown a short tutorial. After swiping through all the features, tap on Start.
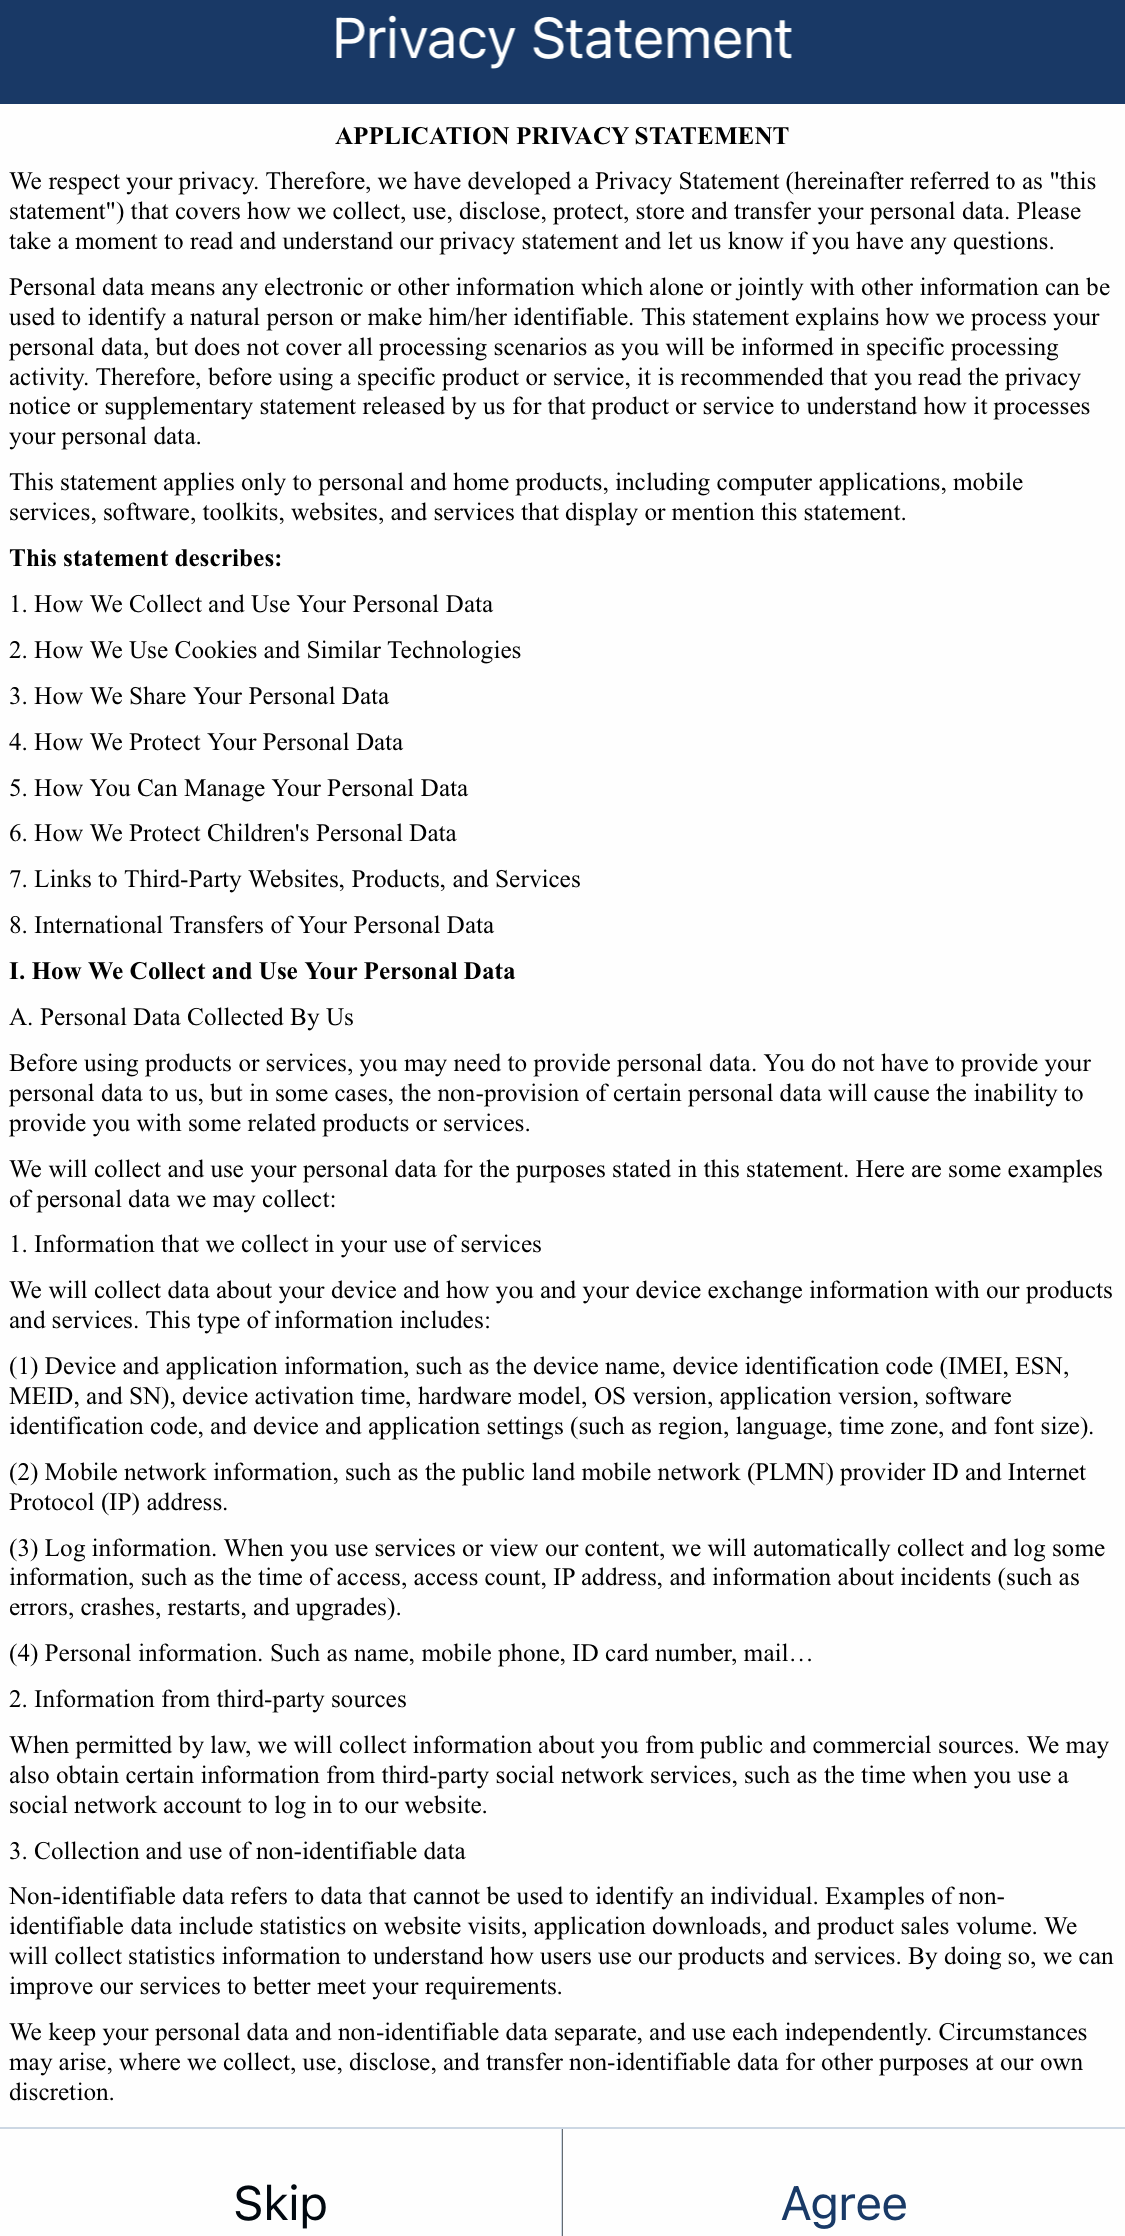
6. To use our application, you must agree to our privacy statement. Tap on Agree to continue.
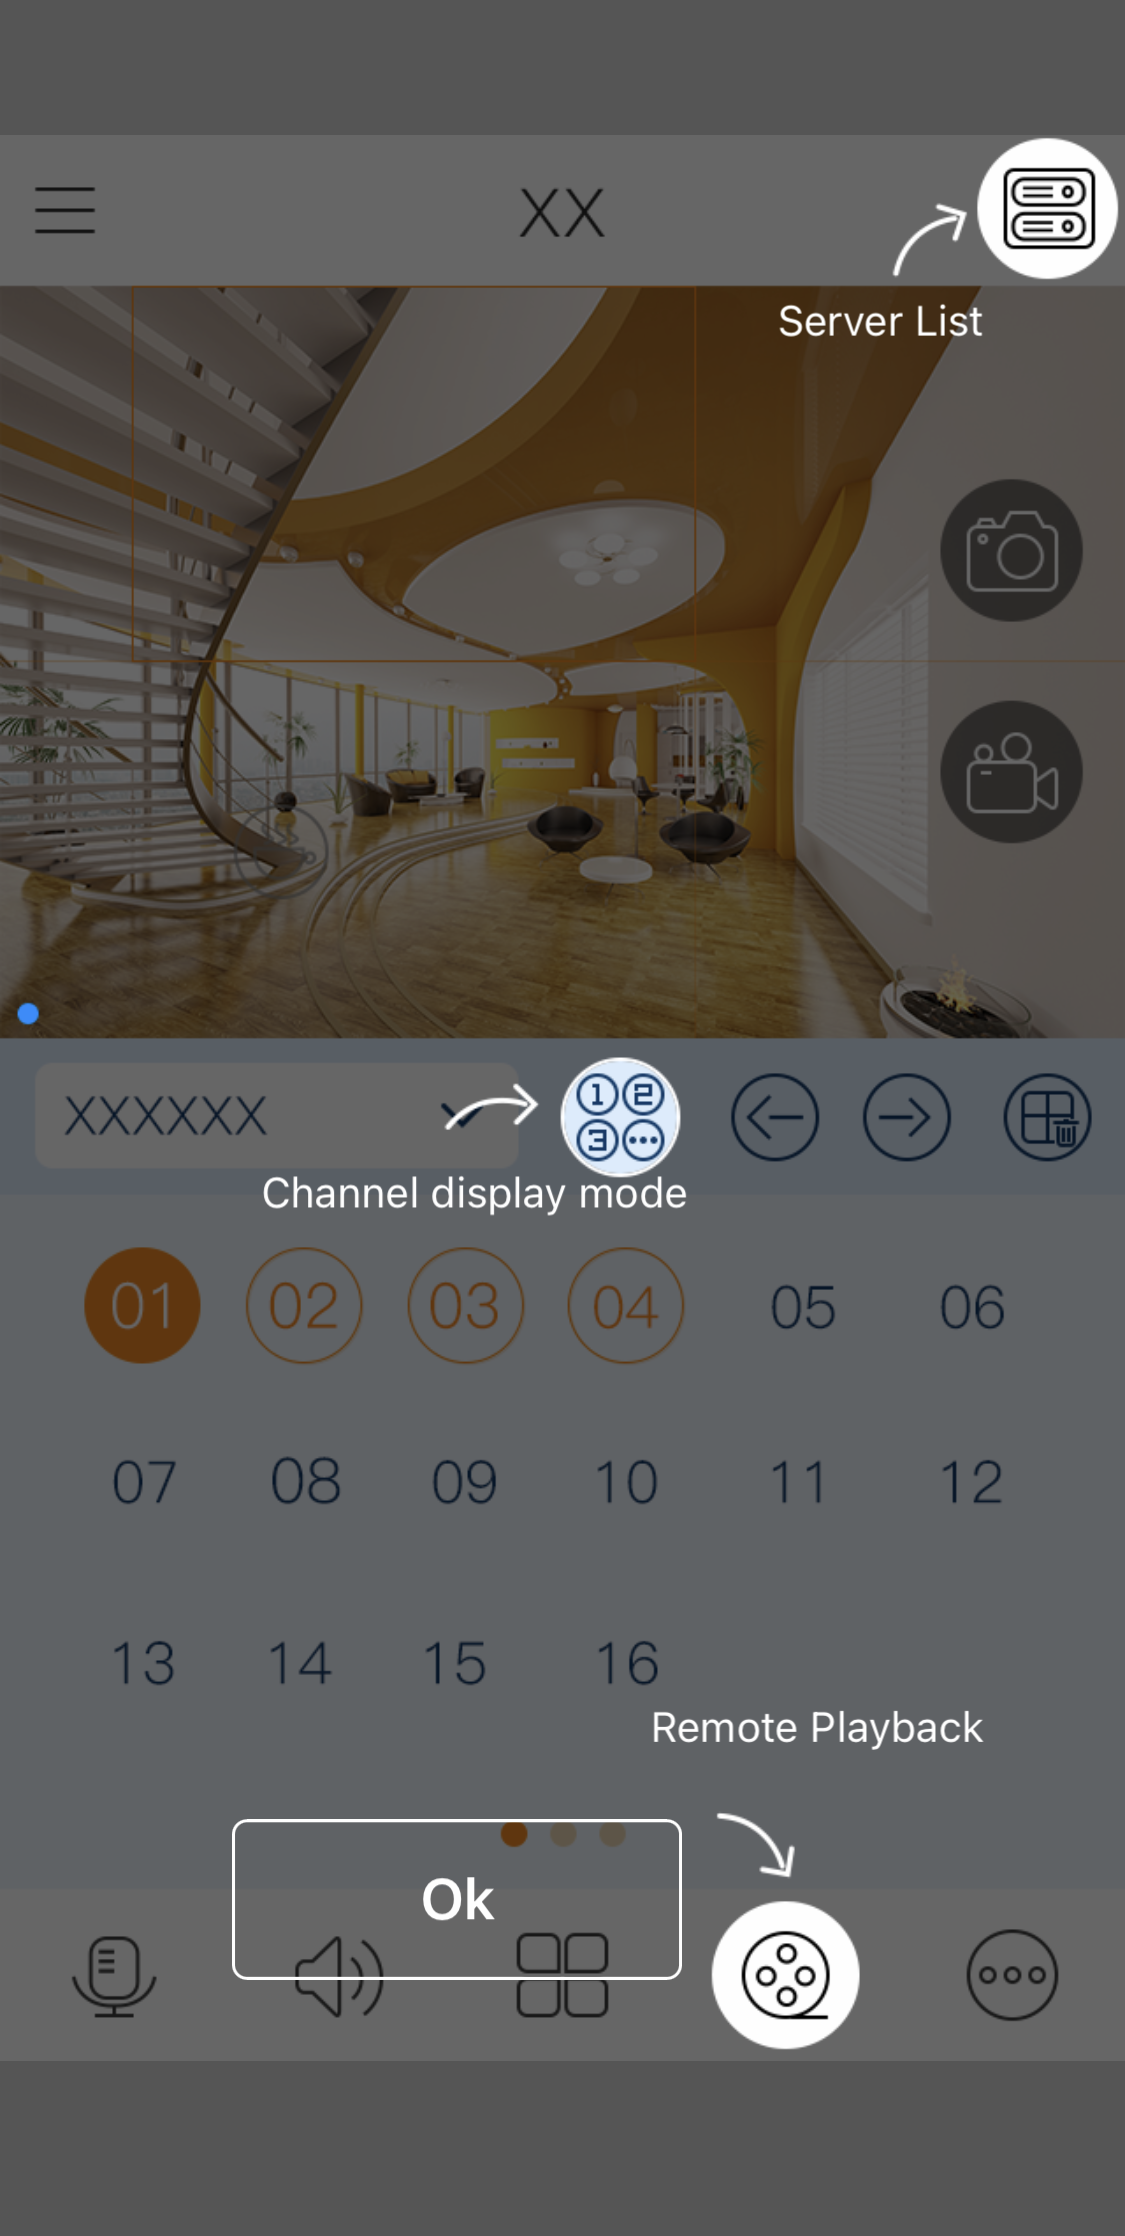
7. Next, the application will highlight some useful icons and their functions. Tap on Ok after having a look around.
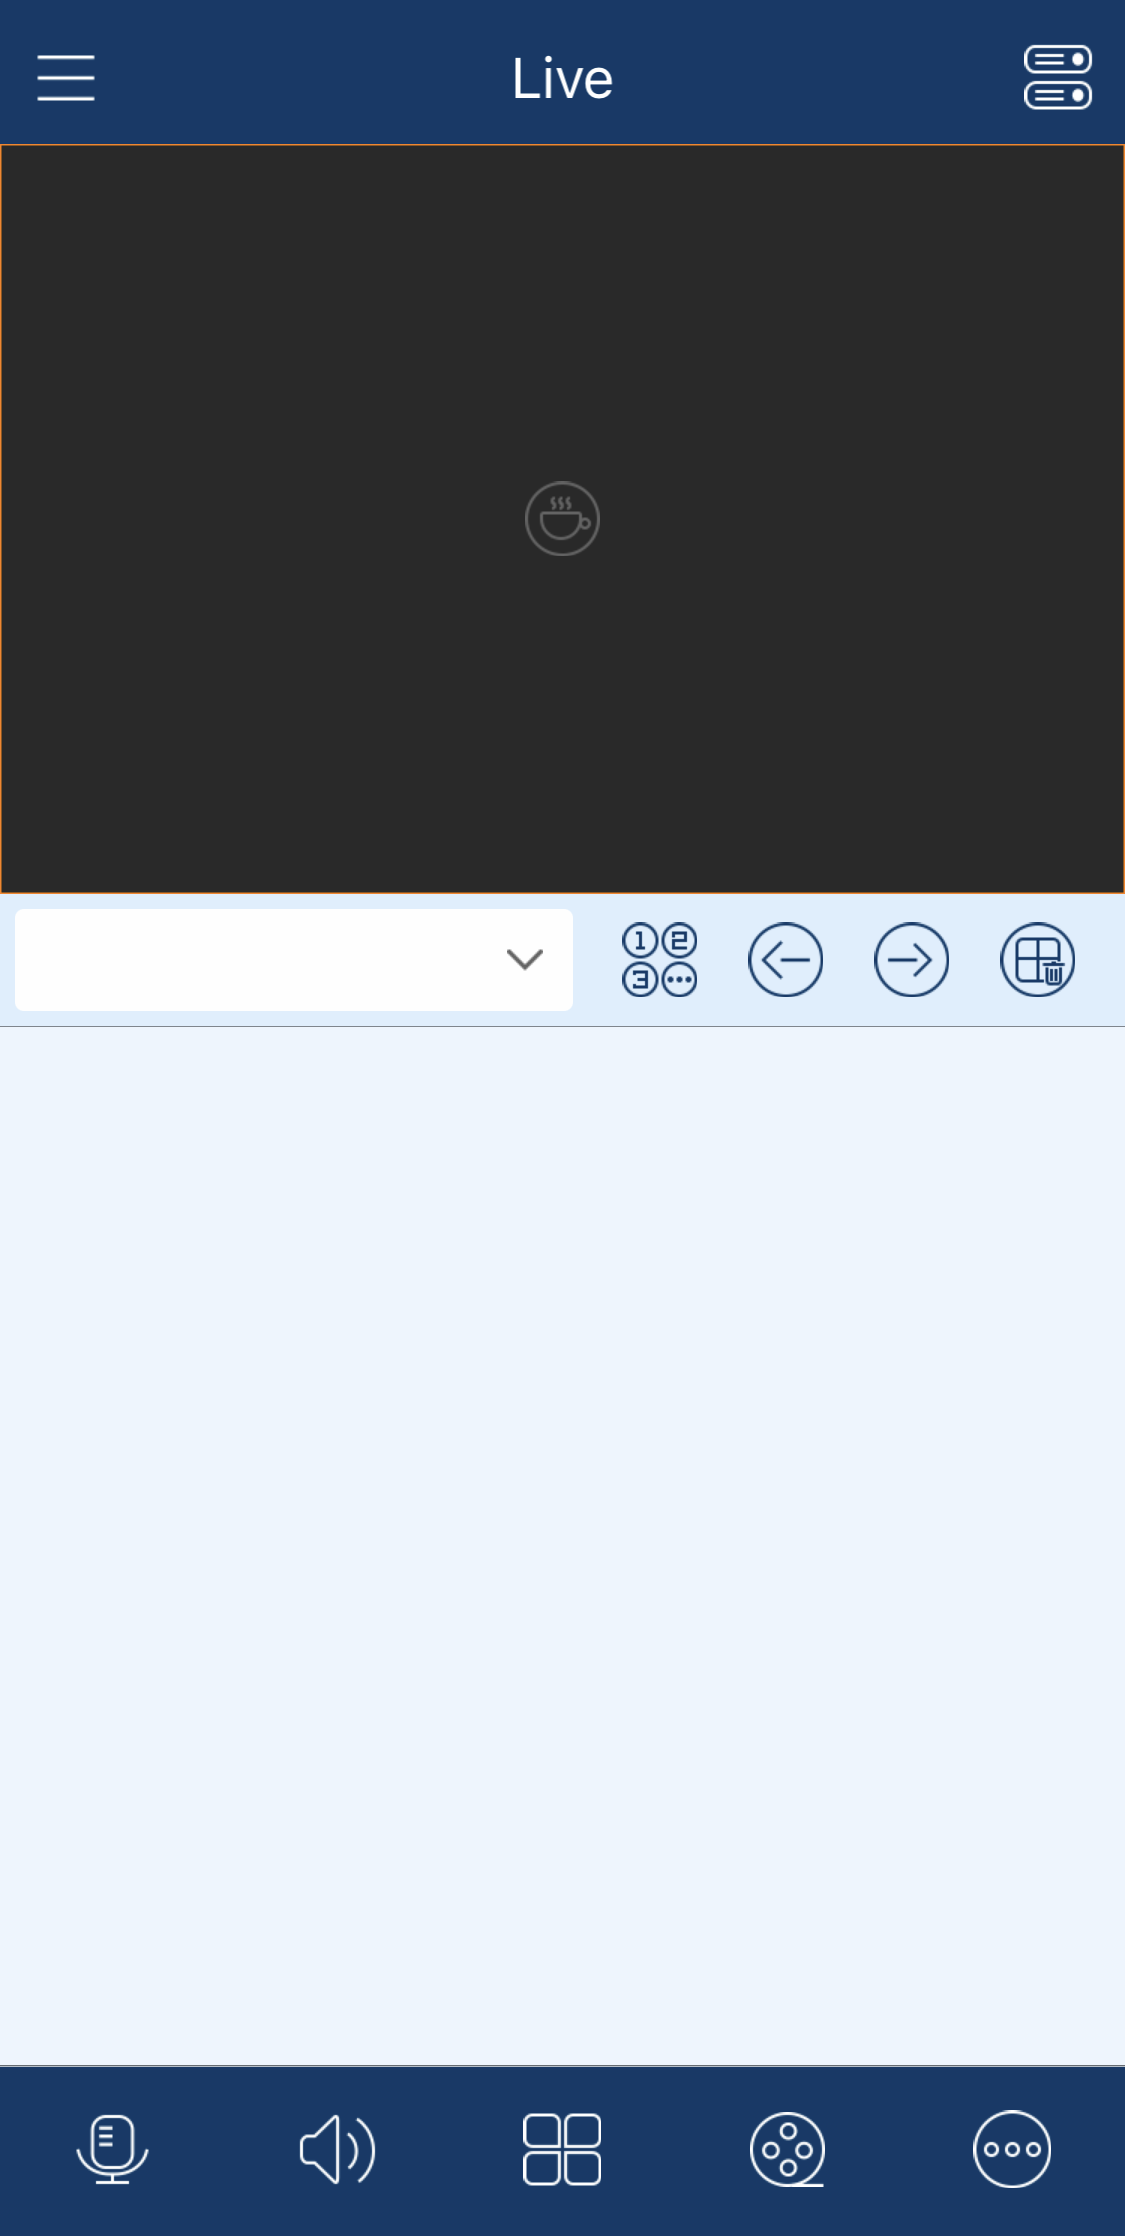
8. You should see a screen similar to the image below. This is the home menu where you can access your cameras, if you have added a camera server.
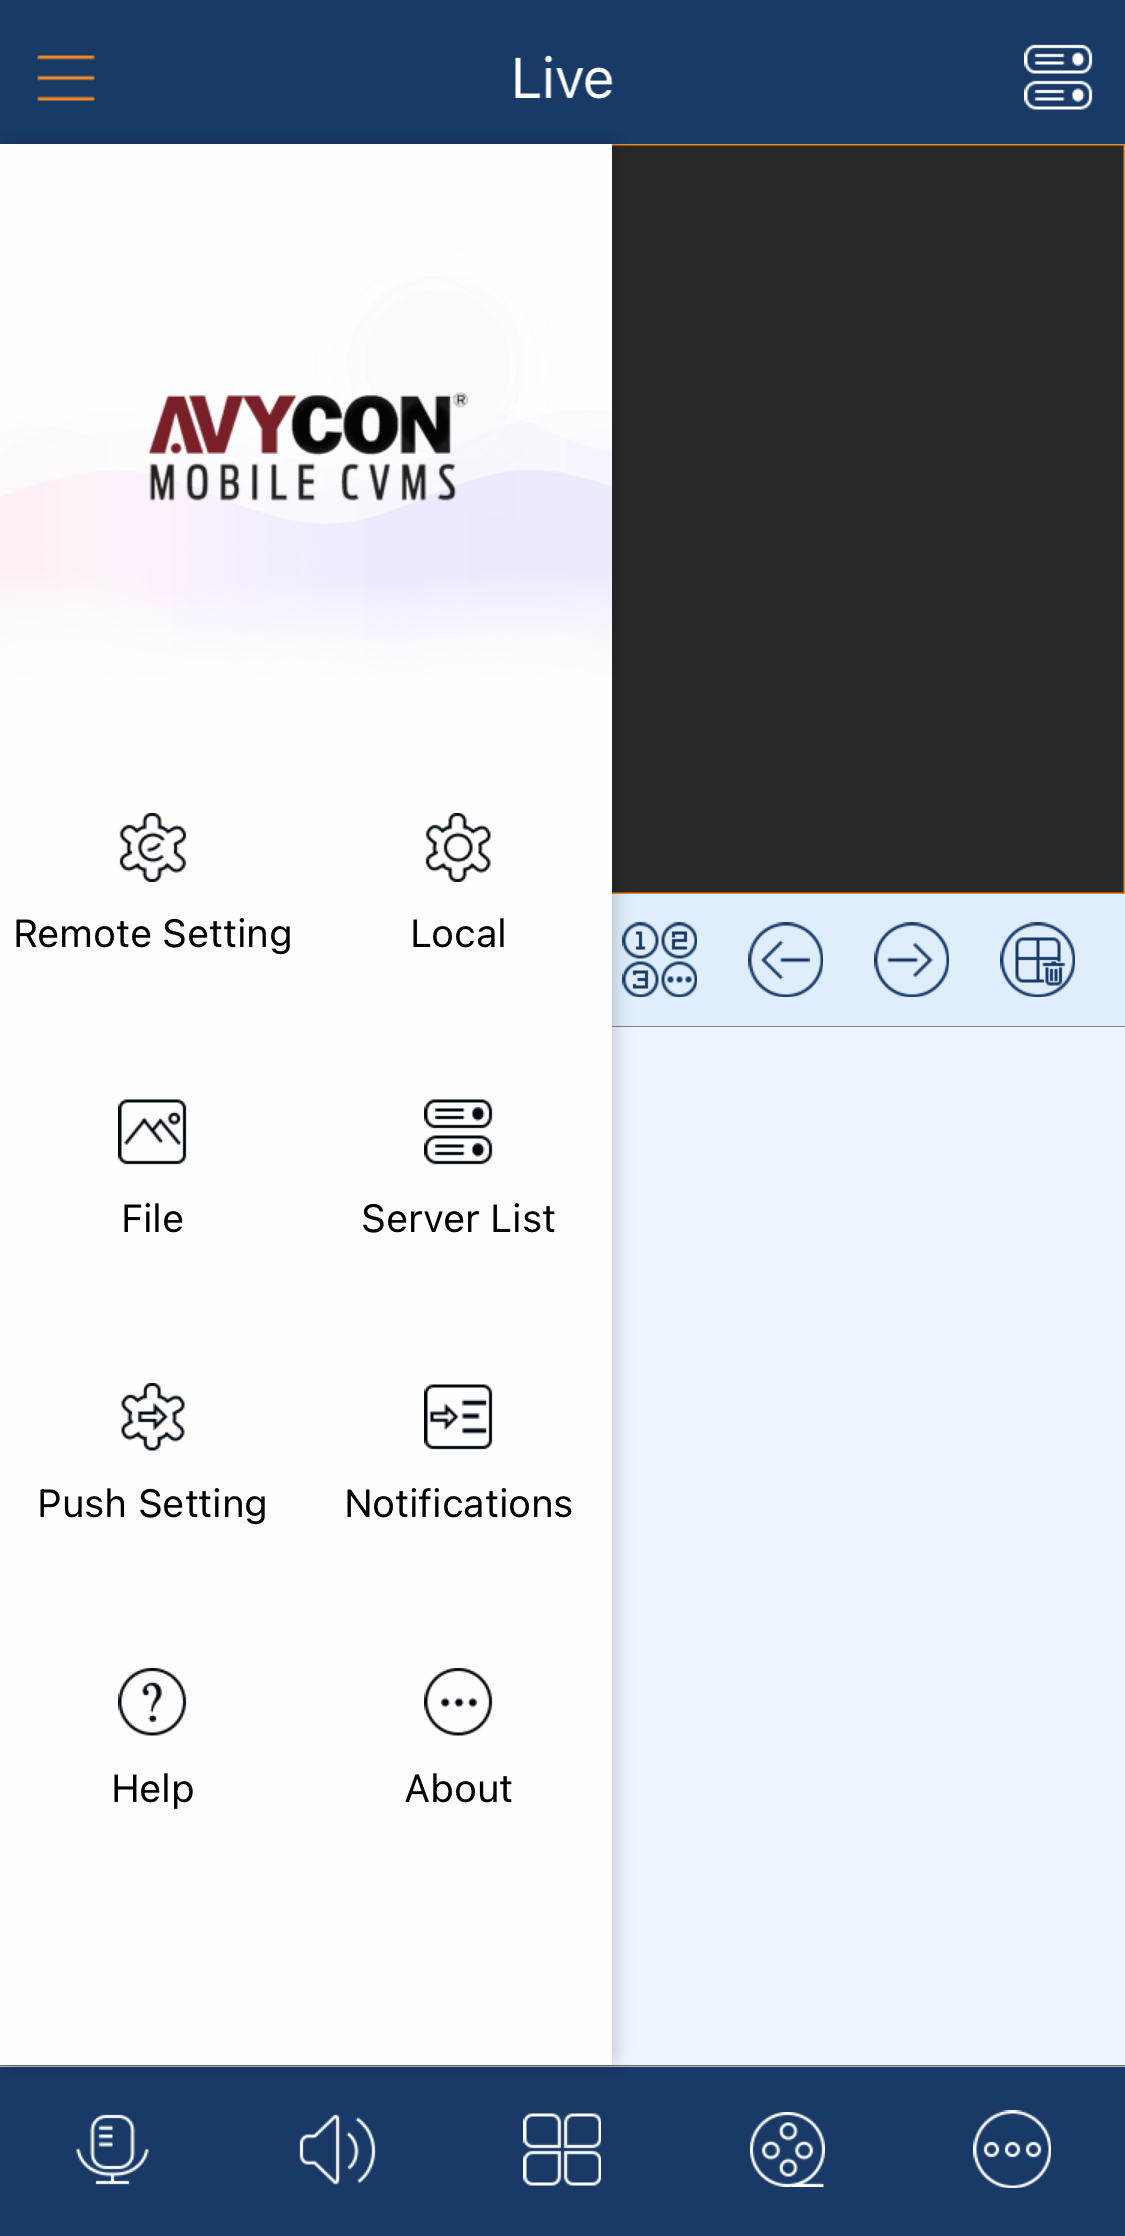
9. Open the menu by tapping on the upper left icon. You can review your settings and files here, but for now, press on the Server List icon. Alternatively, you can tap on the icon in the upper right corner instead, which leads to the same page.
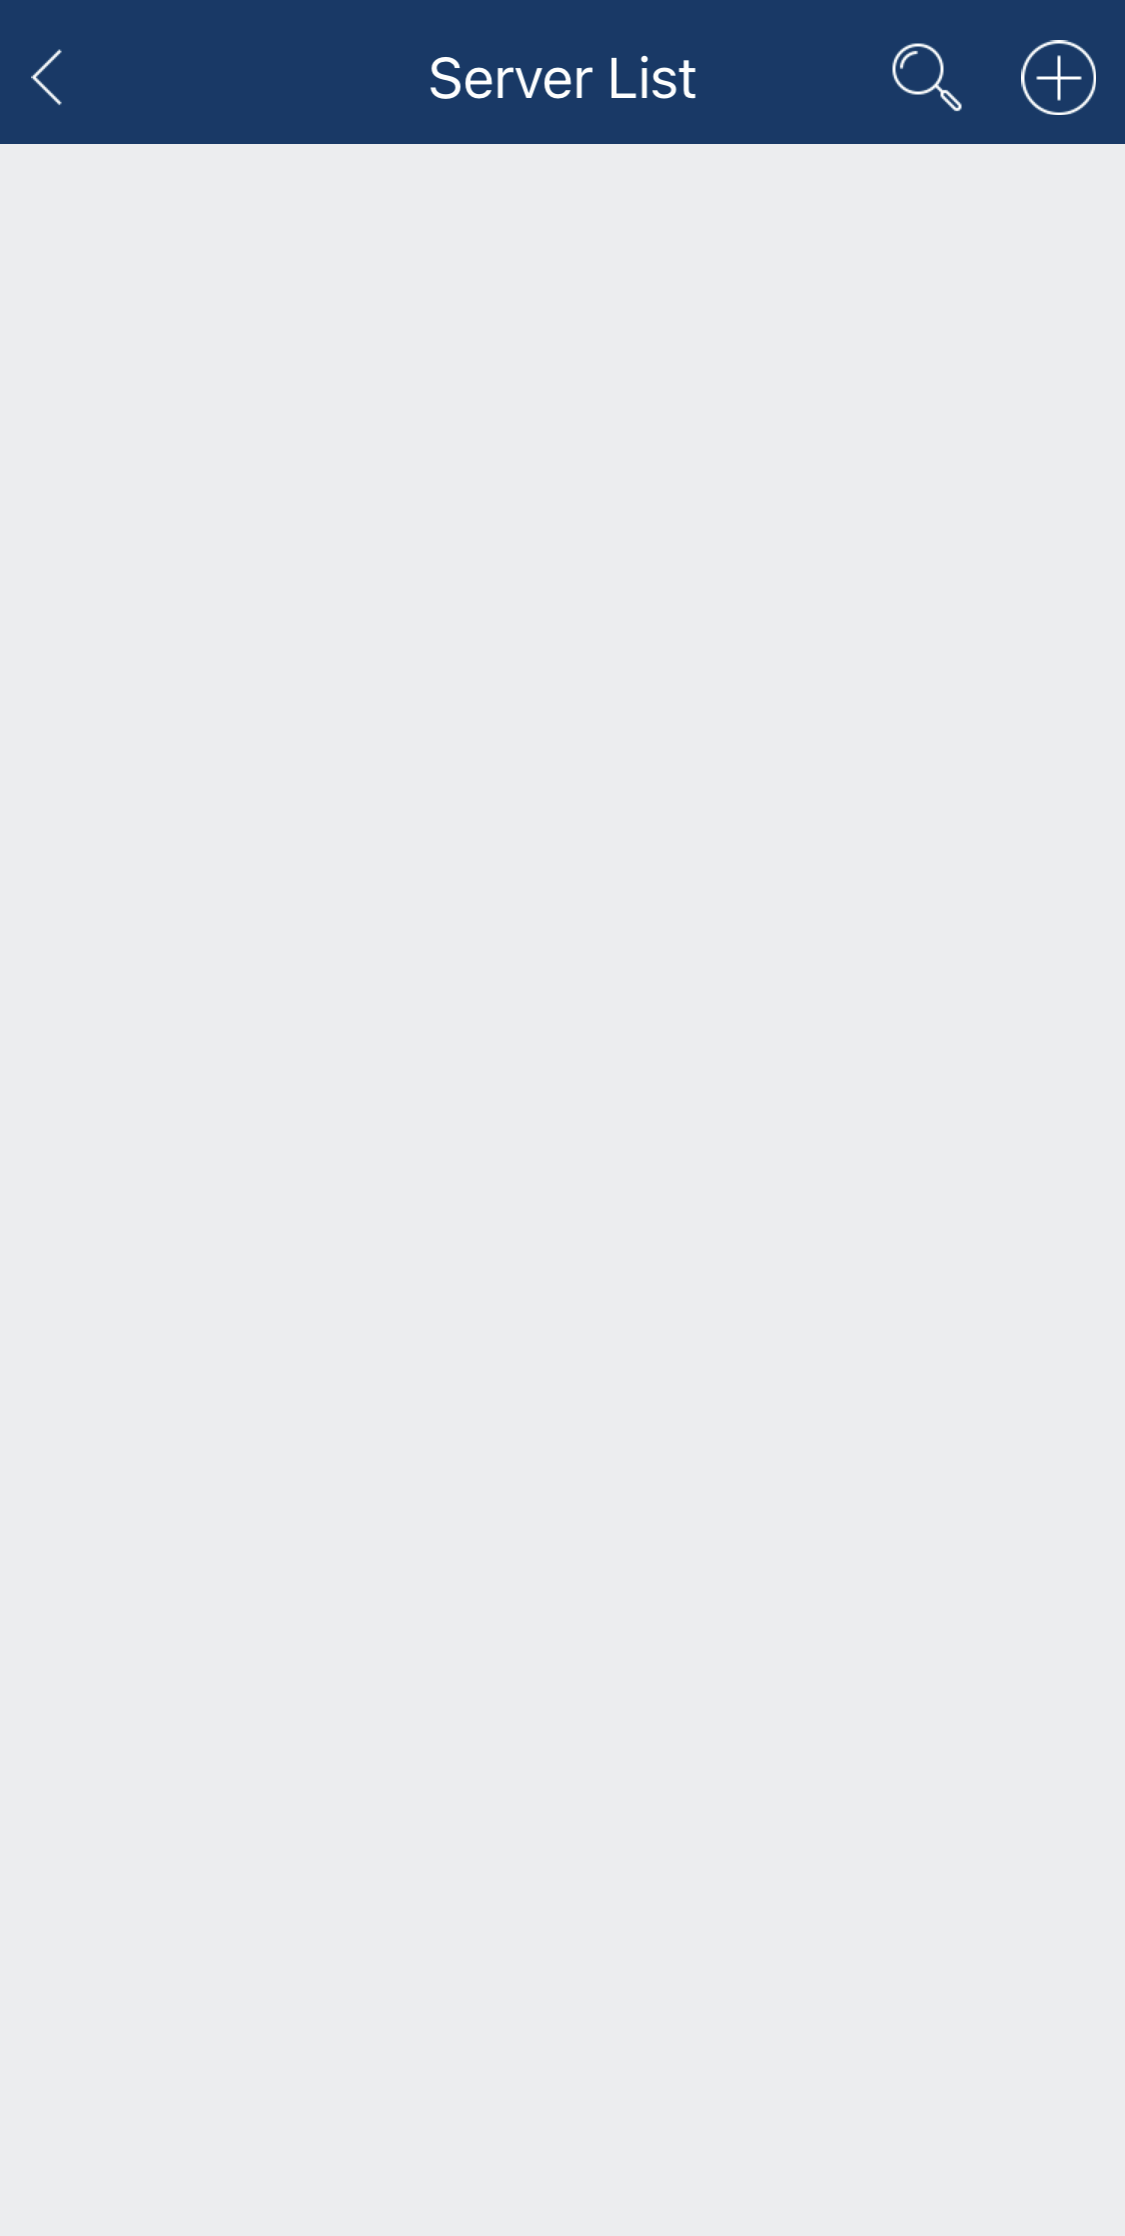
10. This page shows you all of the camera systems you have saved. It should be empty currently, so tap on the + icon to add a new server.
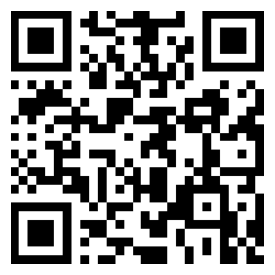
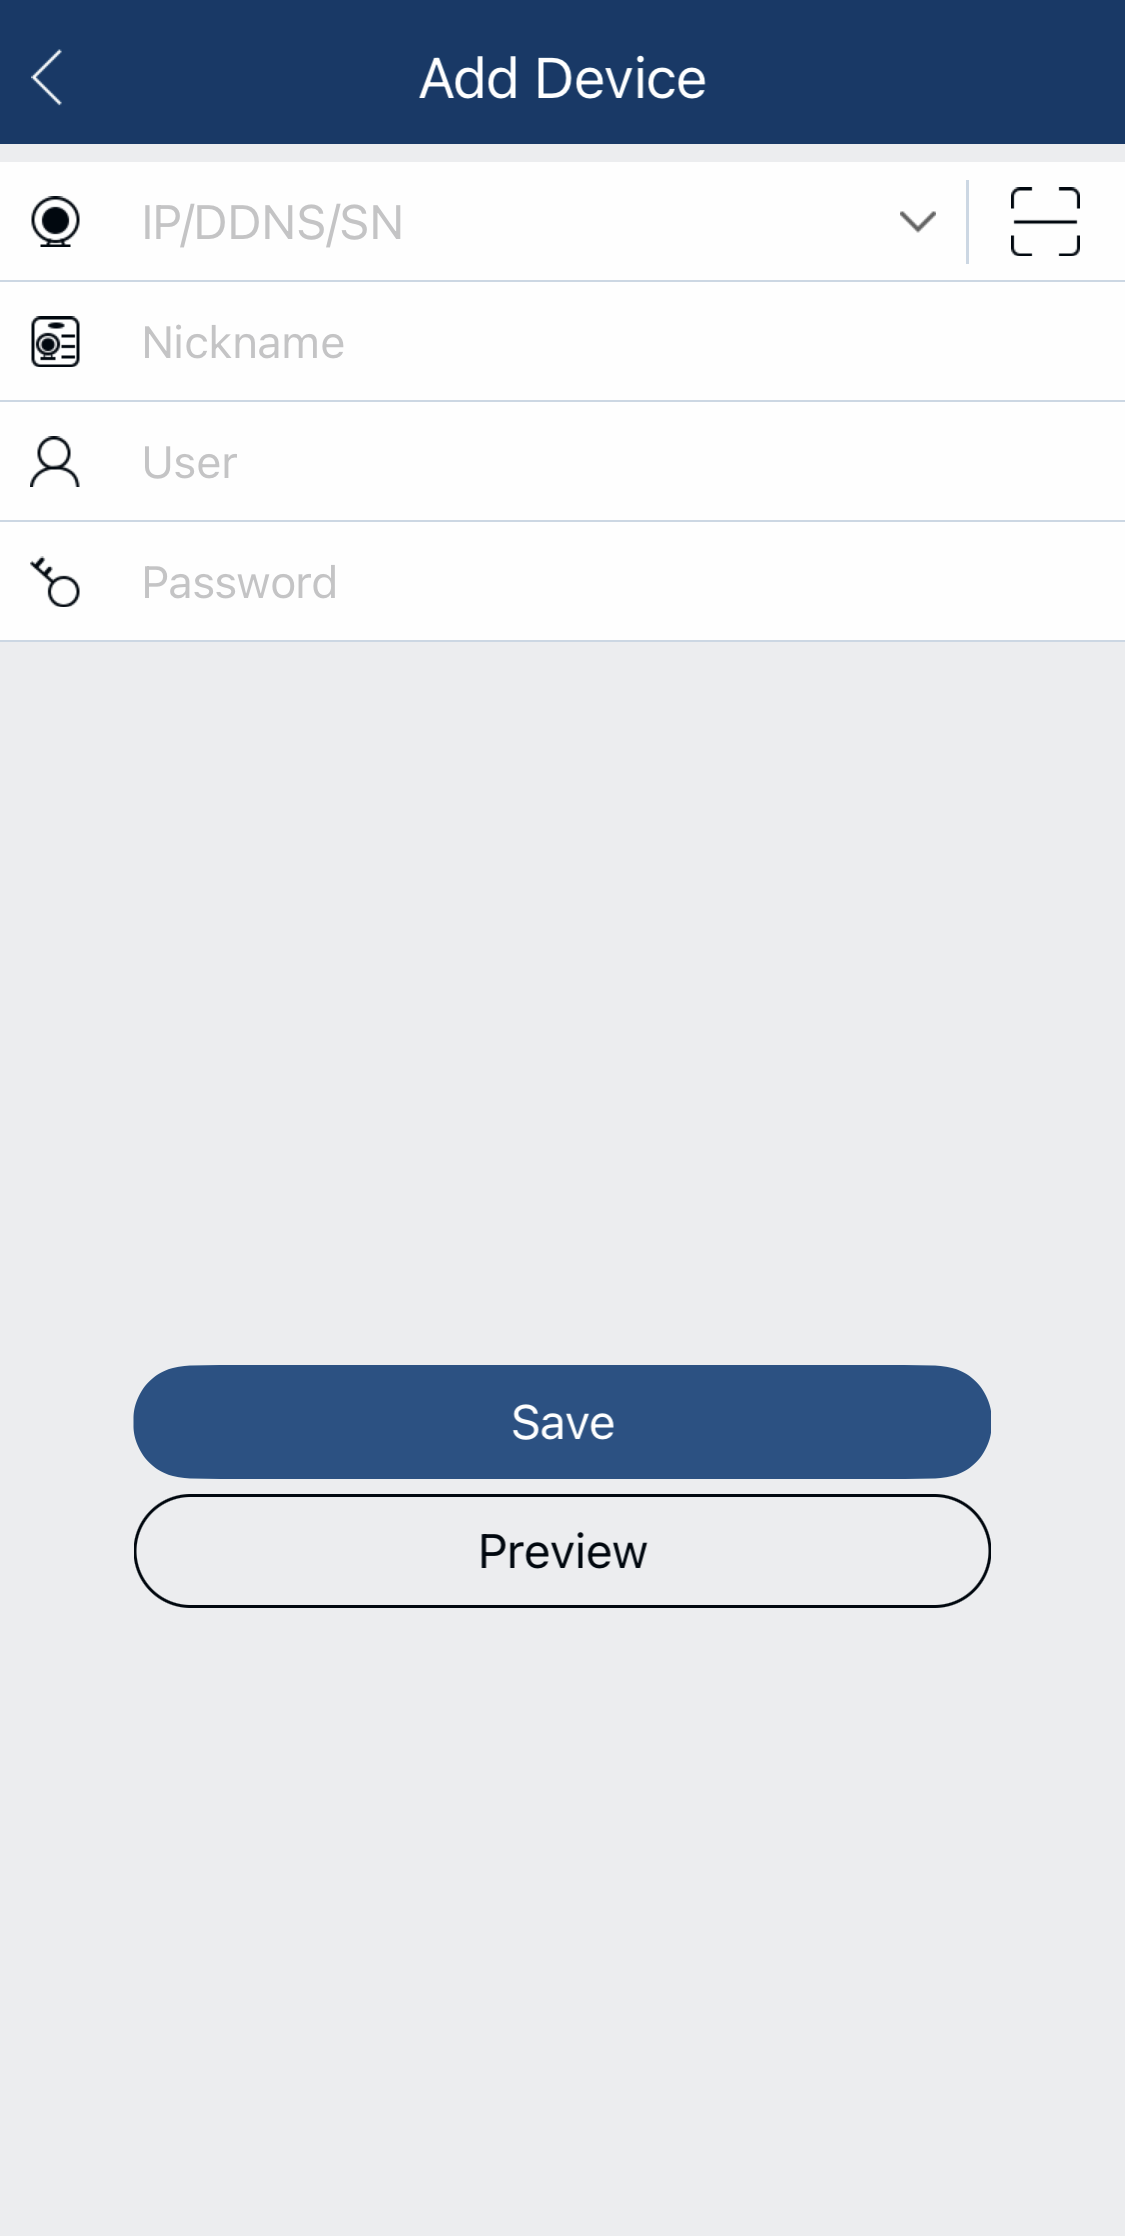
11. Enter the following credentials to view our DVR demo system. You may also choose to scan a QR code for the first field by tapping on the – icon to the right of it. For the nickname field, you can name the server anything you’d like, but it is recommended to use “DVR Demo” for clarity. Once you have filled in all the fields, tap on Save if you’d like to revisit this demo again later, or Preview if you don’t want to keep this demo in your server list.
- IP/DDNS/SN: KB72F158QB4C
- Nickname: NVR Demo
- User: demo
- Password: 1234
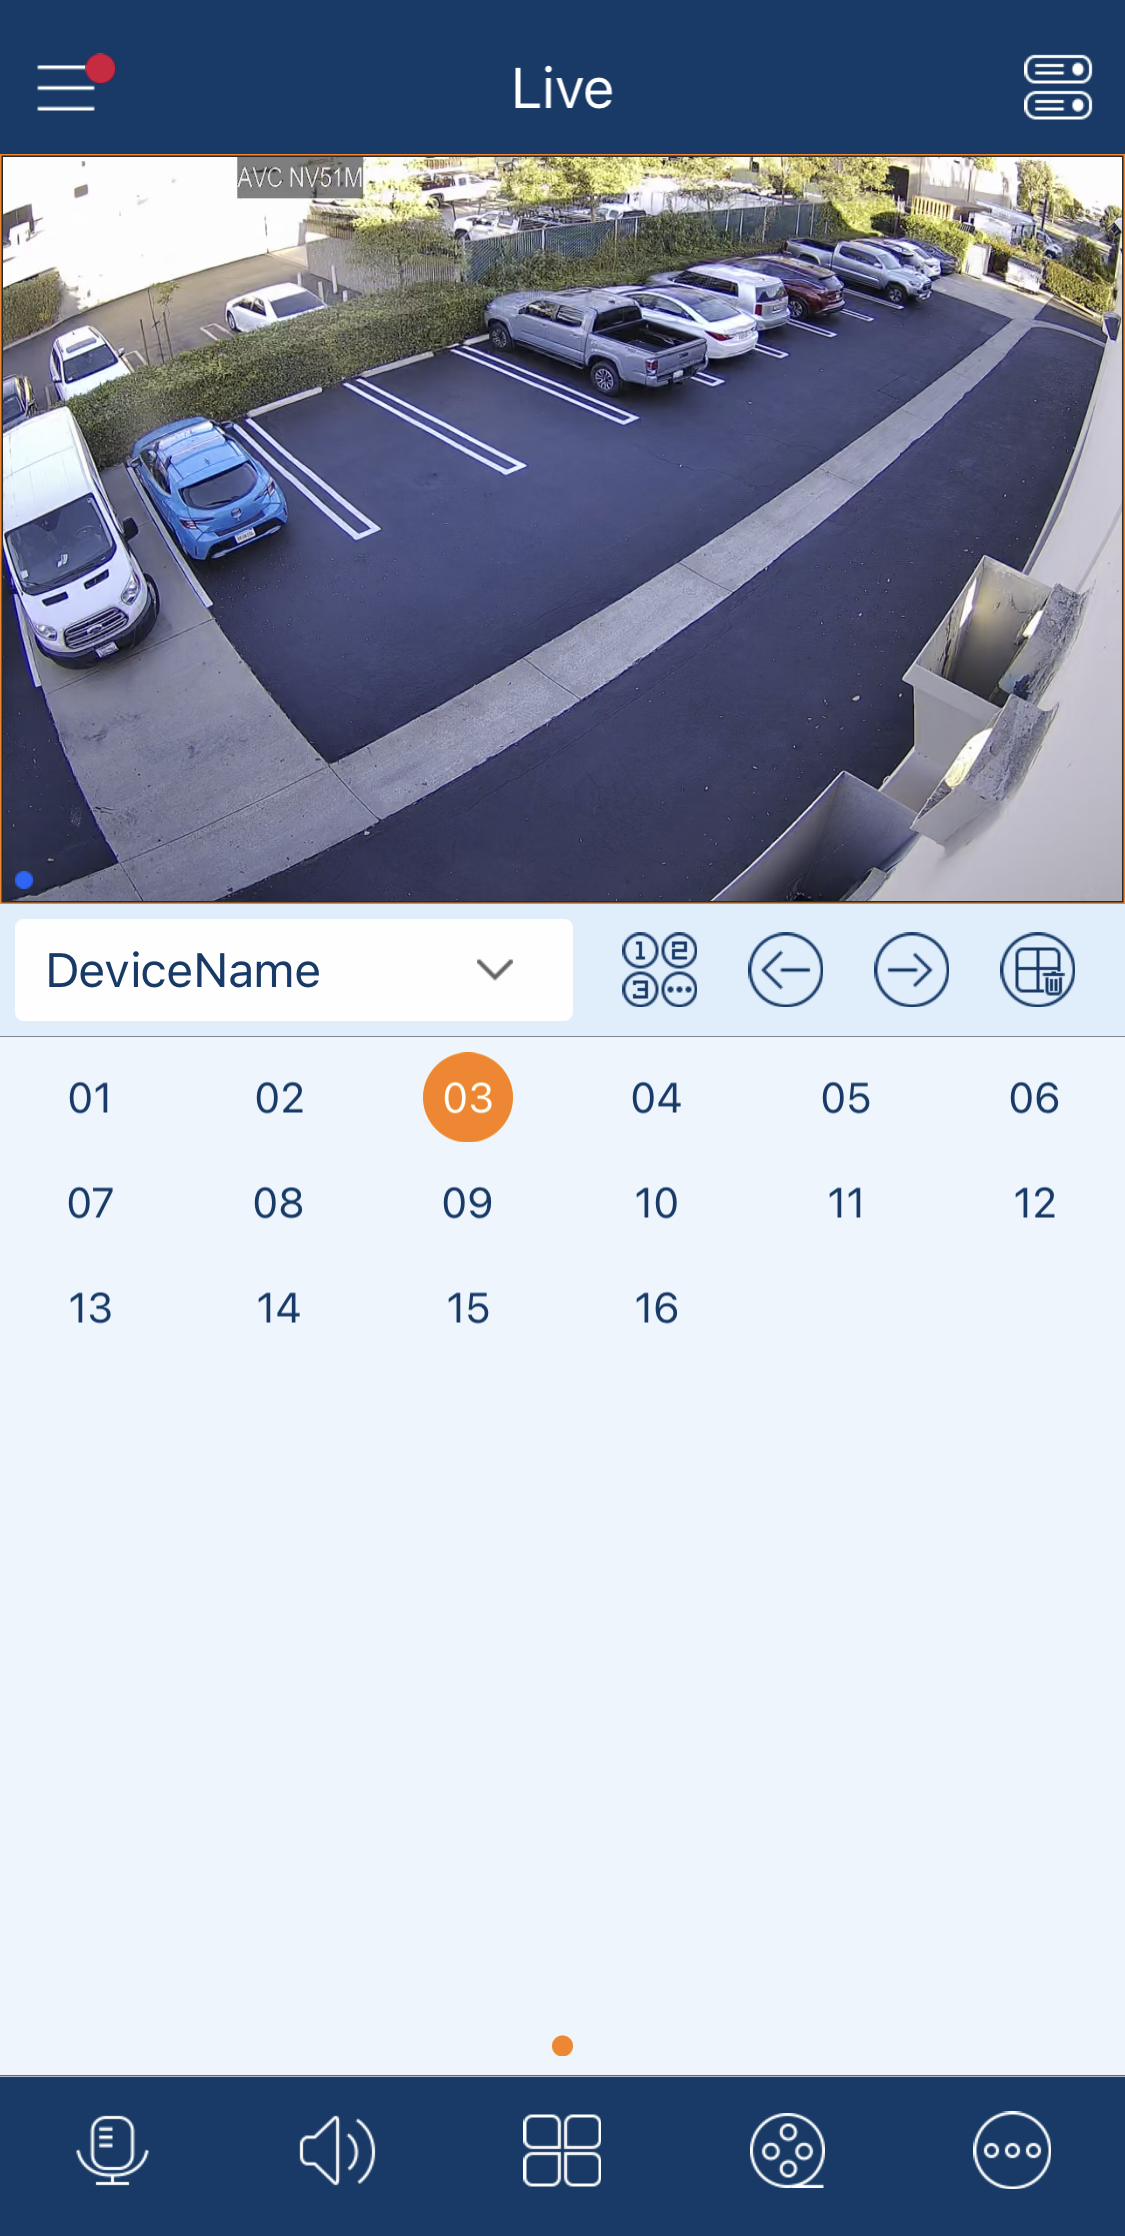
12. The home screen should now load all of our available cameras connected to our demo DVR.
13. You can double tap on any of the camera feeds to show that camera only. In the image below, we have changed the layout to only show our first camera.
14. You can also rotate your mobile device to switch the camera into landscape view, which may make it easier to view the feed.
15. Lastly, if you’d like to switch to a different camera, simply tap on the arrow icons or select a camera number.
16. This concludes our brief guide for our iOS application.
If you having any difficulty accessing our demo page, please feel free to contact our Technical Support Department at +1-949-752-7606 or Email at support@avycon.com
How to install AVY Mobile CVMS on Android
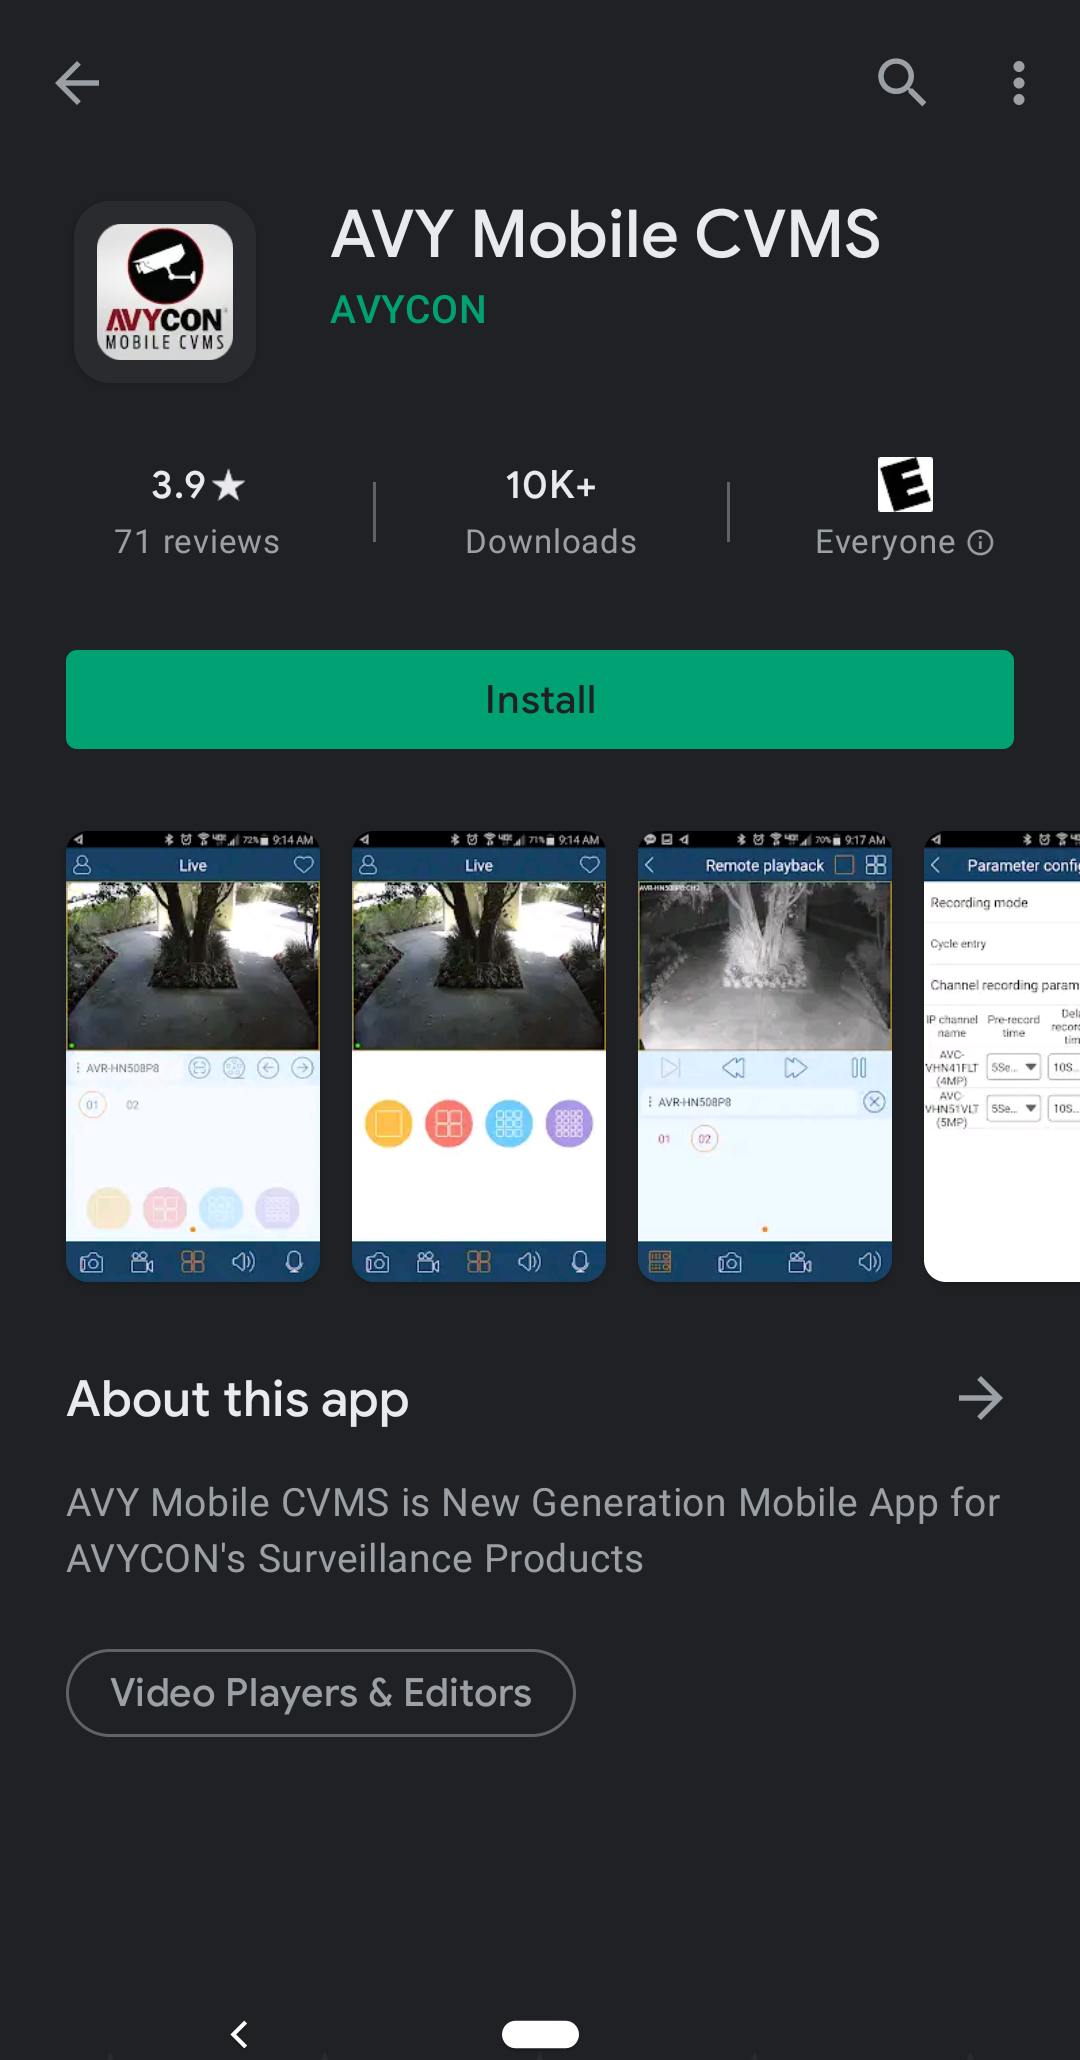
1. Find and launch the Play Store app.
2. Search for “AVYCON” and select the “AVY Mobile CVMS“.
3. Tap on the cloud icon to begin downloading and installing the application. Once the installation is complete, tap on Open to launch the app.
4. You should see this launch screen while the app is loading. The application will ask you to grant several permissions. To ensure all features work properly, please agree to all of them.
5. Since this is the first time the application has been launched, you will be shown a short tutorial. After swiping through all the features, tap on Start.
6. To use our application, you must agree to our privacy statement. Tap on Agree to continue.
7. Next, the application will highlight some useful icons and their functions. Tap on Ok after having a look around.
8. You should see a screen similar to the image below. This is the home menu where you can access your cameras, if you have added a camera server.
9. Open the menu by tapping on the upper left icon. You can review your settings and files here, but for now, press on the Server List icon. Alternatively, you can tap on the icon in the upper right corner instead, which leads to the same page.
10. This page shows you all of the camera systems you have saved. It should be empty currently, so tap on the + icon to add a new server.
11. Enter the following credentials to view our DVR demo system. You may also choose to scan a QR code for the first field by tapping on the – icon to the right of it. For the nickname field, you can name the server anything you’d like, but it is recommended to use “DVR Demo” for clarity. Once you have filled in all the fields, tap on Save if you’d like to revisit this demo again later, or Preview if you don’t want to keep this demo in your server list.
- IP/DDNS/SN: KB72F158QB4C
- Nickname: NVR Demo
- User: demo
- Password: 1234
12. The home screen should now load all of our available cameras connected to our demo DVR.
13. You can double tap on any of the camera feeds to show that camera only. In the image below, we have changed the layout to only show our first camera.
14. You can also rotate your mobile device to switch the camera into landscape view, which may make it easier to view the feed.
15. Lastly, if you’d like to switch to a different camera, simply tap on the arrow icons or select a camera number.
16. This concludes our brief guide for our iOS application.
If you having any difficulty accessing our demo page, please feel free to contact our Technical Support Department at +1-949-752-7606 or Email at support@avycon.com